Home Lab
Description
Established a foundational home lab environment utilizing VMware to simulate a hypothetical attack scenario between 2 VMs: Kali Linux and Windows. This setup demonstrates essential hardening techniques, custom script implementation within Metasploit, and real-time incident monitoring through Splunk and Sysmon.
Pre-requisites
VMware Setup
VMware is a type 2 hypervisor which serves to isolate and create a dedicated communication channel between the lab environments. The installation is as follows:
-
Download the VMware Workstation Pro found at: https://www.vmware.com/products/desktop-hypervisor/workstation-and-fusion.
-
Verify the executable’s integrity through the File Checksums. In this case, the SHA-256 and MD5 checksums are found at the installer page.
- Open a PowerShell terminal within the same download’s location and execute:
Get-FileHash <file-name>
Therefore, the hash can be matched with the provided list.

-
Install VMware and mark
Install Windows Hypervisor Platform (WHP) automaticallyto avoid conflicts in virtualization when Hyper-V or Device/Credential Guard are enabled.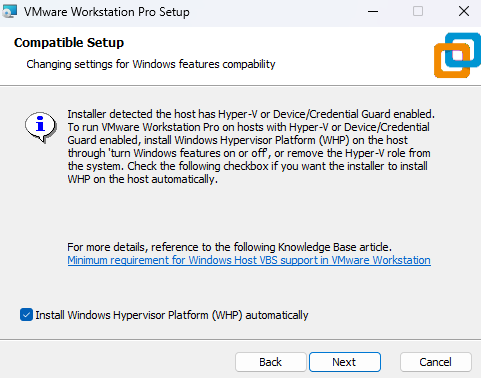
In addition, select
Use VMware Workstation 17 for Personal Useto execute VMware without a license.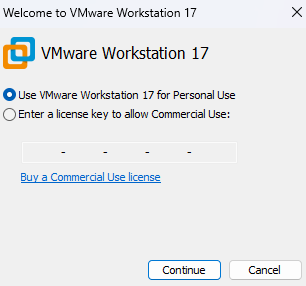
Windows Setup
Windows 11 is the most recent Operating System developed by Microsoft. This is the host machine which will be targeted by Kali Linux.
-
Download the Windows Installation Media found at: https://www.microsoft.com/en-us/software-download/windows11.
-
During the install process, at the
Choose which media to usesection, selectISO file.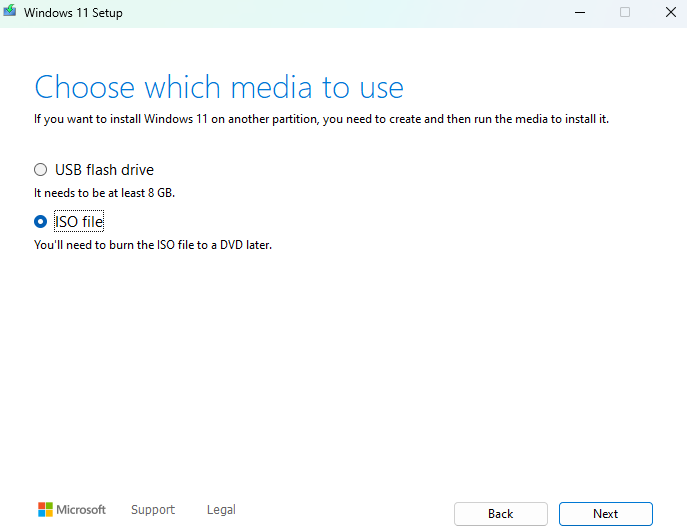
-
In VMware, click on
Create a New Virtual Machine, then theTypicalconfiguration and load theWindows.isoimage.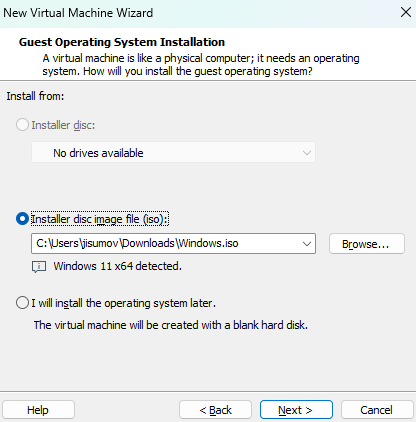
-
At the
Encryption Informationsection, choose to encrypt all the files and set a password that you store in a safe place, such a password manager, in the host machine.
Also, select
Store virtual disk as a single filein the Specify Disk Capacity section.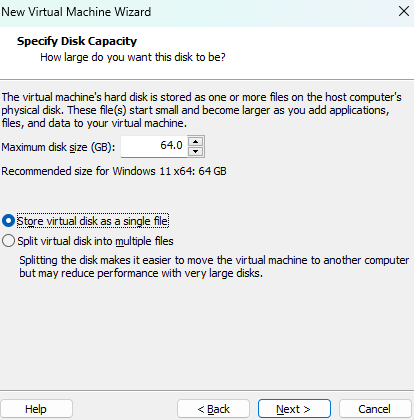
Note: By default, the 64 GB of storage is not pre-allocated.
-
The summary will show the recommended hardware settings, except for one which must be configured manually, then click on
Customize Hardware...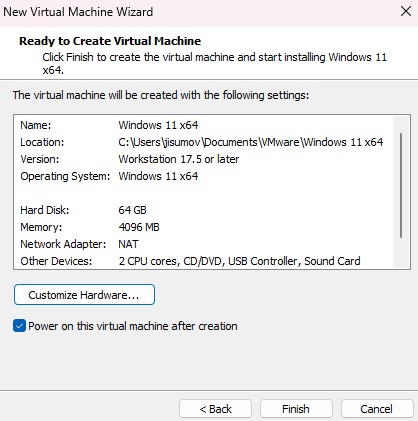
The network adapter is set as
NATto share the host’s internet connection, and so it will eventually require a Windows Account. Therefore, selectHost-only, which will be helpful to bypass the remaining setup.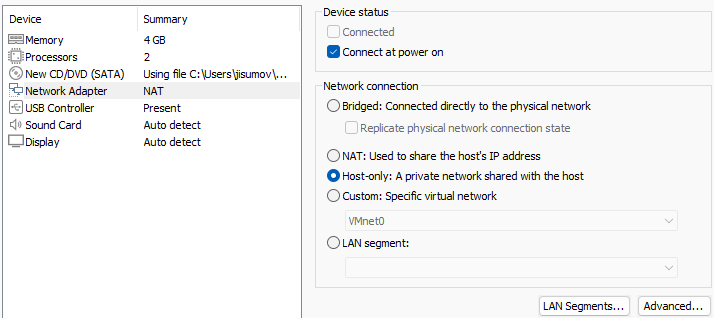
-
Finish the machine creation and click on
Power on this virtual machine. -
During the configuration process, make sure to select
I don't have a product key.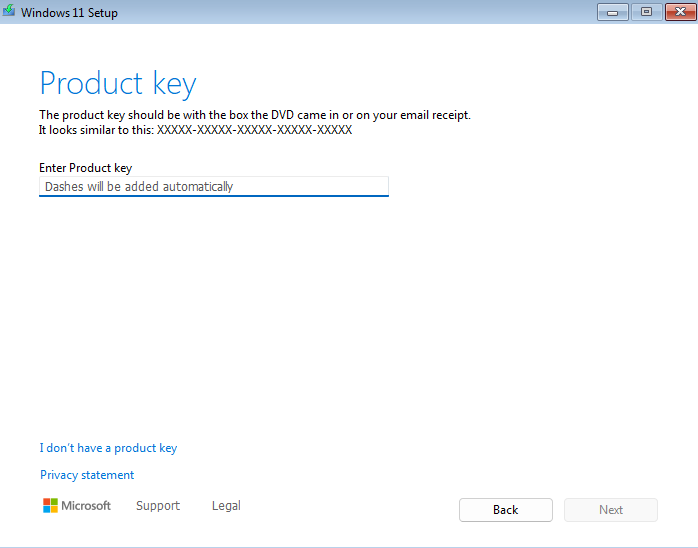
In addition, select Windows 11 Pro, because of the
RDPfeature explained here: https://learn.microsoft.com/en-us/windows-server/remote/remote-desktop-services/clients/remote-desktop-supported-config.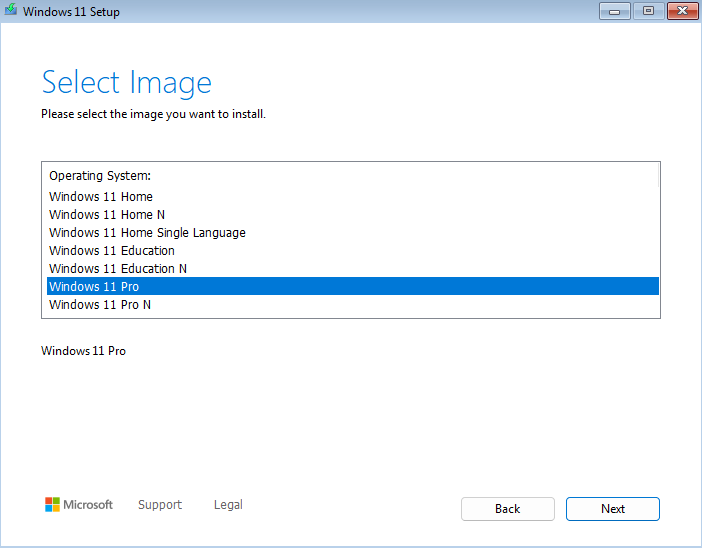
-
During the setup, it will ask to connect to a network. To bypass this step, do
Shift+F10to open theCMDand execute the following command:oobe\bypassnroIt will restart the machine and enable the
I don't have internetoption, select it and finish the setup.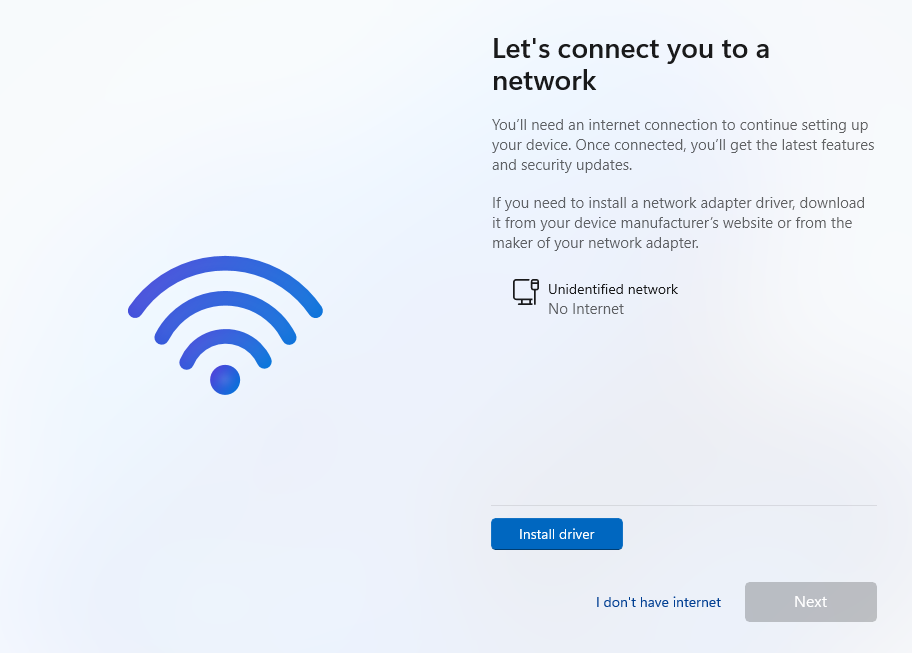
-
After the Windows setup, ensure a smoother virtualization experience by going to the
VMtab and selectInstall VMware Tools.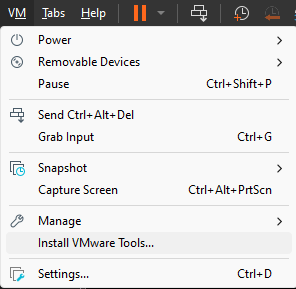
It will load the drive and ask to execute the
Run setup64.exe, click on it and follow the default options.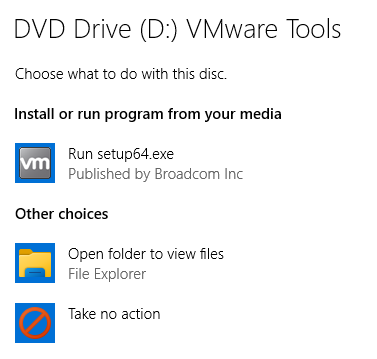
-
To have internet in the VM, go to the left bar, right click on the machine name and select
Settings...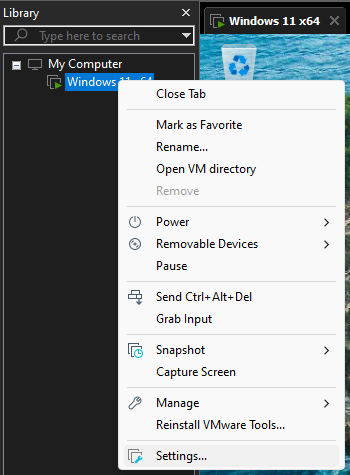
And, in the
Network Adaptersection chooseNATto ensure the VM is not alongside the host network, but has its own through the hostIP.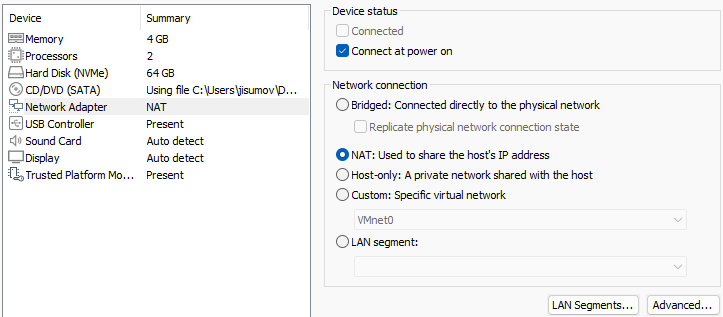
-
Finally, for future recovery of the fresh install, go to the
VMtab, then click onSnapshotandTake Snapshot...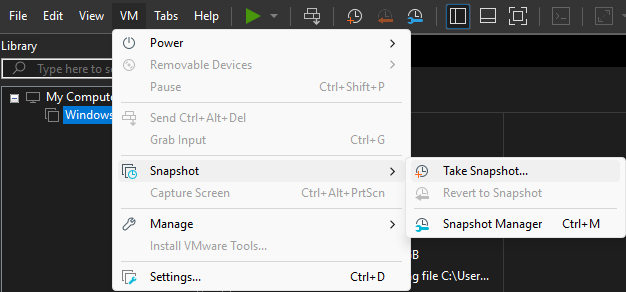
Assign a name like “Fresh Install” and click
Take Snapshot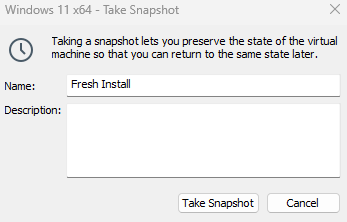
Splunk Setup
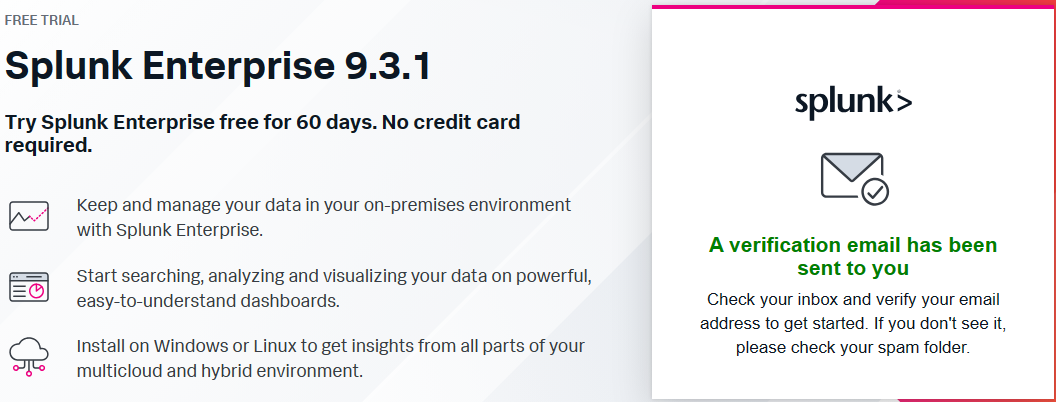
Splunk is a SIEM to search, monitor and analyze machines’ data. This tool will be working on the Windows VM.
-
In the local machine go to: https://www.splunk.com/en_us/download/splunk-enterprise.html. It requires an account to try the tool for 60 days.
In this case, use a temporary email with: https://temp-mail.org/, which will serve as a workaround everytime Splunk is tested out, and activate the account.
-
Now, click on
Download Nowto get the Splunk installer.
Also, the integrity of the executable can be checked in the same way as the third step of the VMware Setup. Retrieve the hash by clicking on
Moreand then onDownload SHA512 to verify your bits.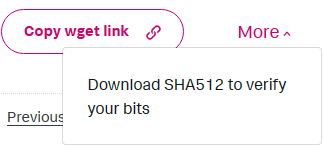
It will download a file which can be opened with Notepad, and since the hash algorithm is SHA512, specify that in the PowerShell as follows:
Get-FileHash <file-name> -Algorithm SHA512
-
Execute the Splunk installer and follow the default settings. It will setup Splunk in a
Local System Account, which is the Windows VM.In case, Splunk needs to oversee data across multiple machines within an Active Directory domain, change to
Domain Account.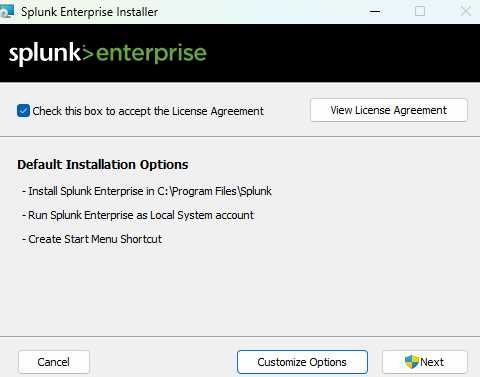
-
Splunk is now installed and running on
http://127.0.0.1:8000/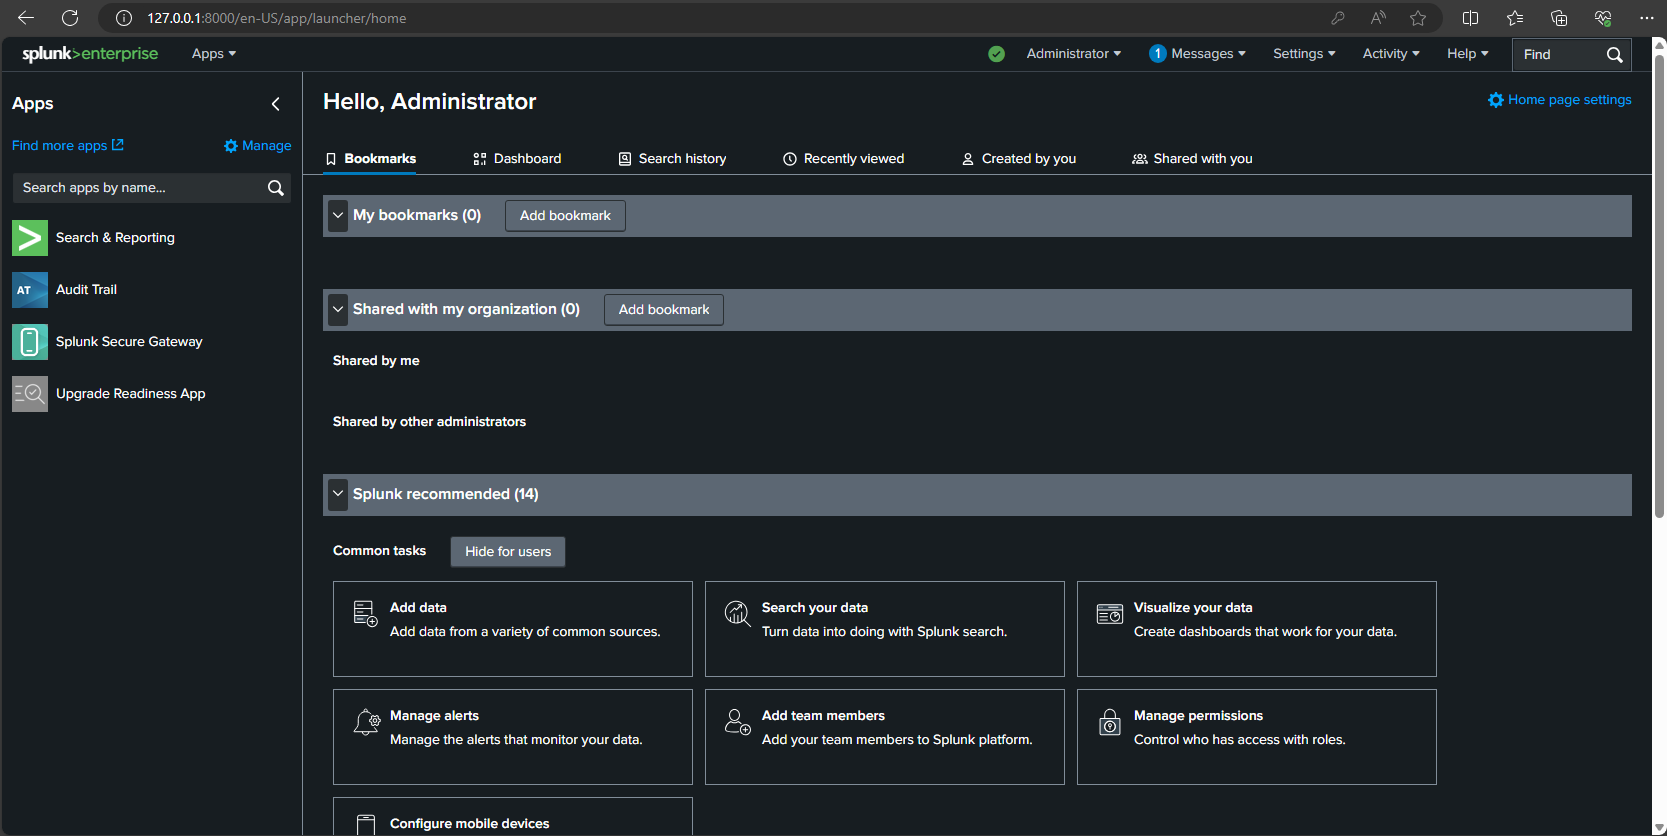
Sysmon Setup
Sysmon is a service that monitors and logs system activity. This tool will be working on the Windows VM.
-
In the local machine, go to: https://learn.microsoft.com/en-us/sysinternals/downloads/sysmon. Then, click on
Download Sysmon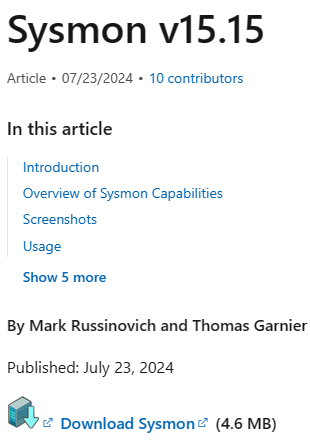
-
Sysmon can be installed with a configuration file. The one used for future reference is found at: https://raw.githubusercontent.com/olafhartong/sysmon-modular/refs/heads/master/sysmonconfig.xml. Right click and select
Save as, then keep it on a memorable location.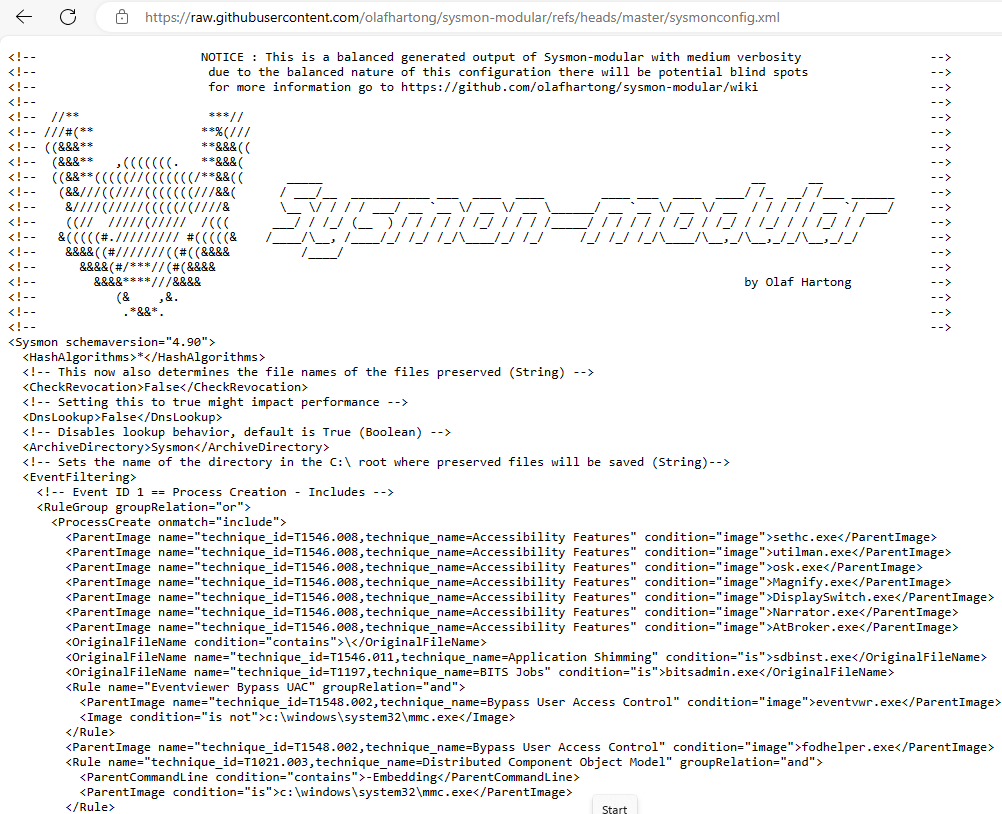
-
Open the
Downloadsfolder and extract theSysmon.zipas follows: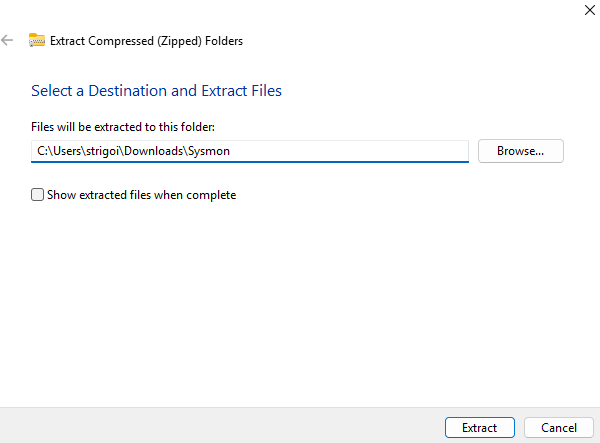
Then, drag and drop the
sysmonconfig.xmlinto the generatedsysmonfolder. The content should look like this: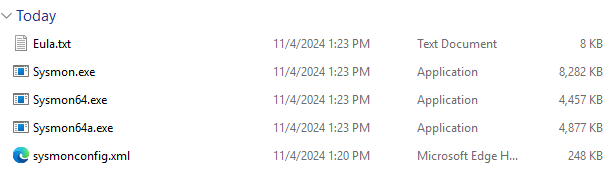
-
Open a PowerShell as an administrator within the same folder location and execute the following command to install Sysmon with the configuration file:
.\Sysmon64.exe -i .\sysmonconfig.xml
Then, proceed with the default installation process.
-
To check if Sysmon is up and running, press the Windows button to search
Services, open it and then look forSysmon64.
Also, at the
Event Viewer, Sysmon can be found viaApplications and Services Logs->Microsoft->Windows->Sysmon.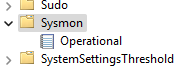
Kali Linux Setup
Kali Linux is a Debian-based Linux distribution which is commonly used for penetration testing. Since this scenario is more focused on defense, the VM will be taken from a pre-built configuration.
-
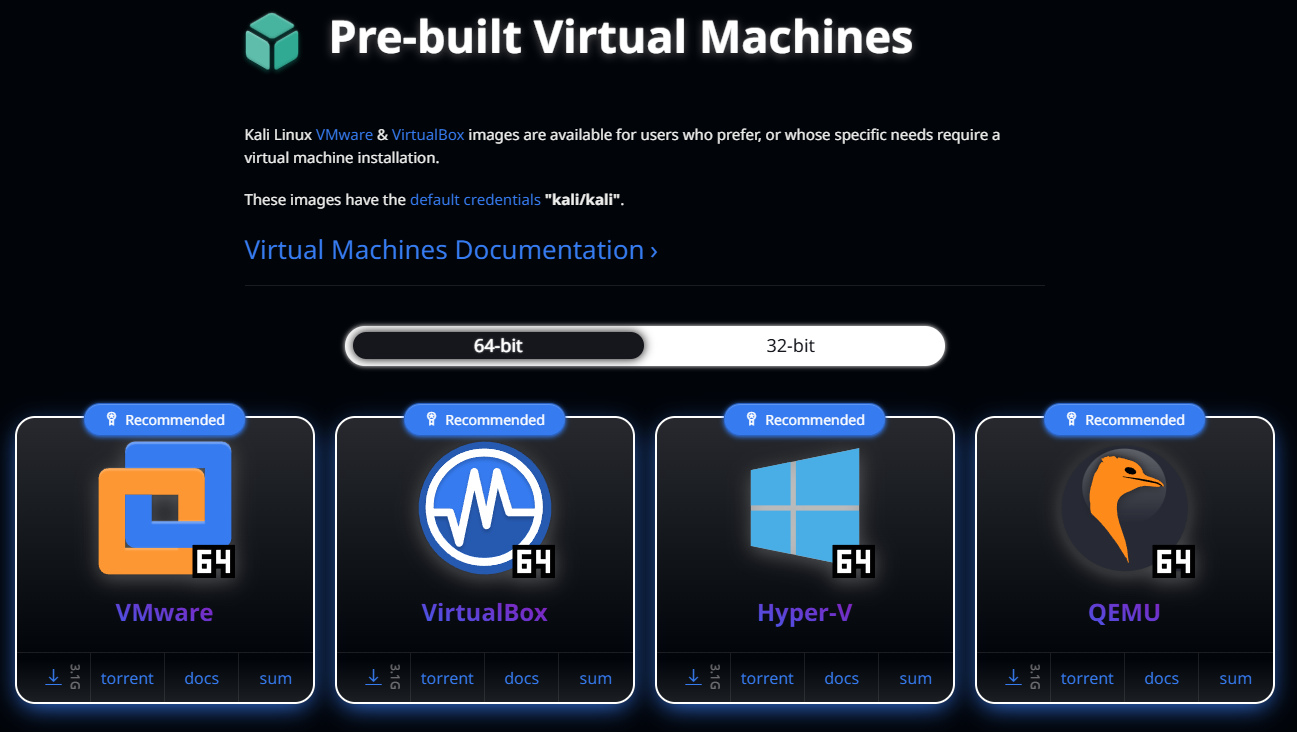
Download the Kali Linux pre-built VM found at: https://www.kali.org/get-kali/#kali-virtual-machines.
-
Then, extract the
.7zinto the VMWare folder that hosts all the VMs.
-
Before powering up the VM, ensure that it is compatible with the actual VMware version. Therefore, click on the VM, and then on
Upgrade this virtual machine.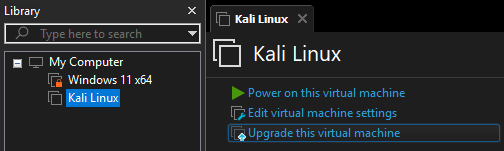
-
In this case, the hardware compatibility must align with the VMware
Workstation 17.5 or laterversion, let the default configuration and click on next.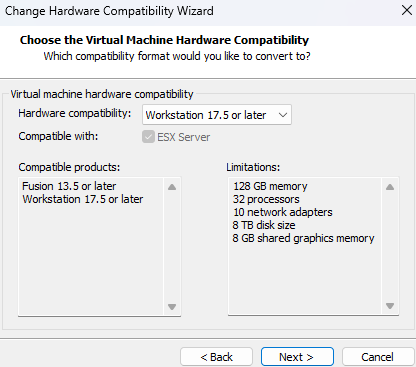
-
Select
Alter this virtual machine, so the resources usage is optimized, as it is not creating a new VM for this particular use case.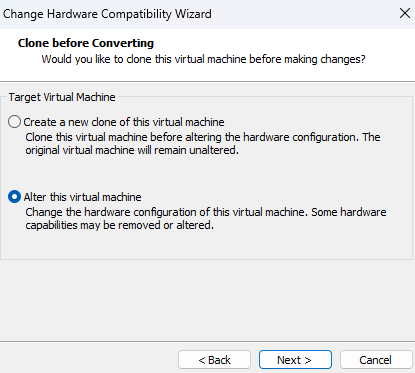
-
Review the changes and click on
Finish.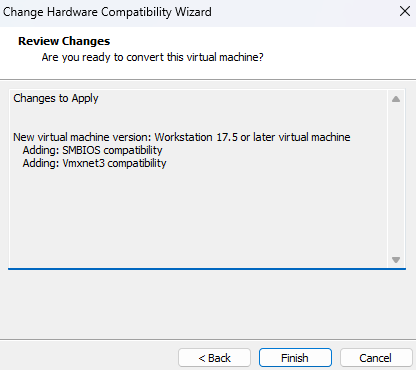
-
Power on the VM and login with the default credentials
kali/kali.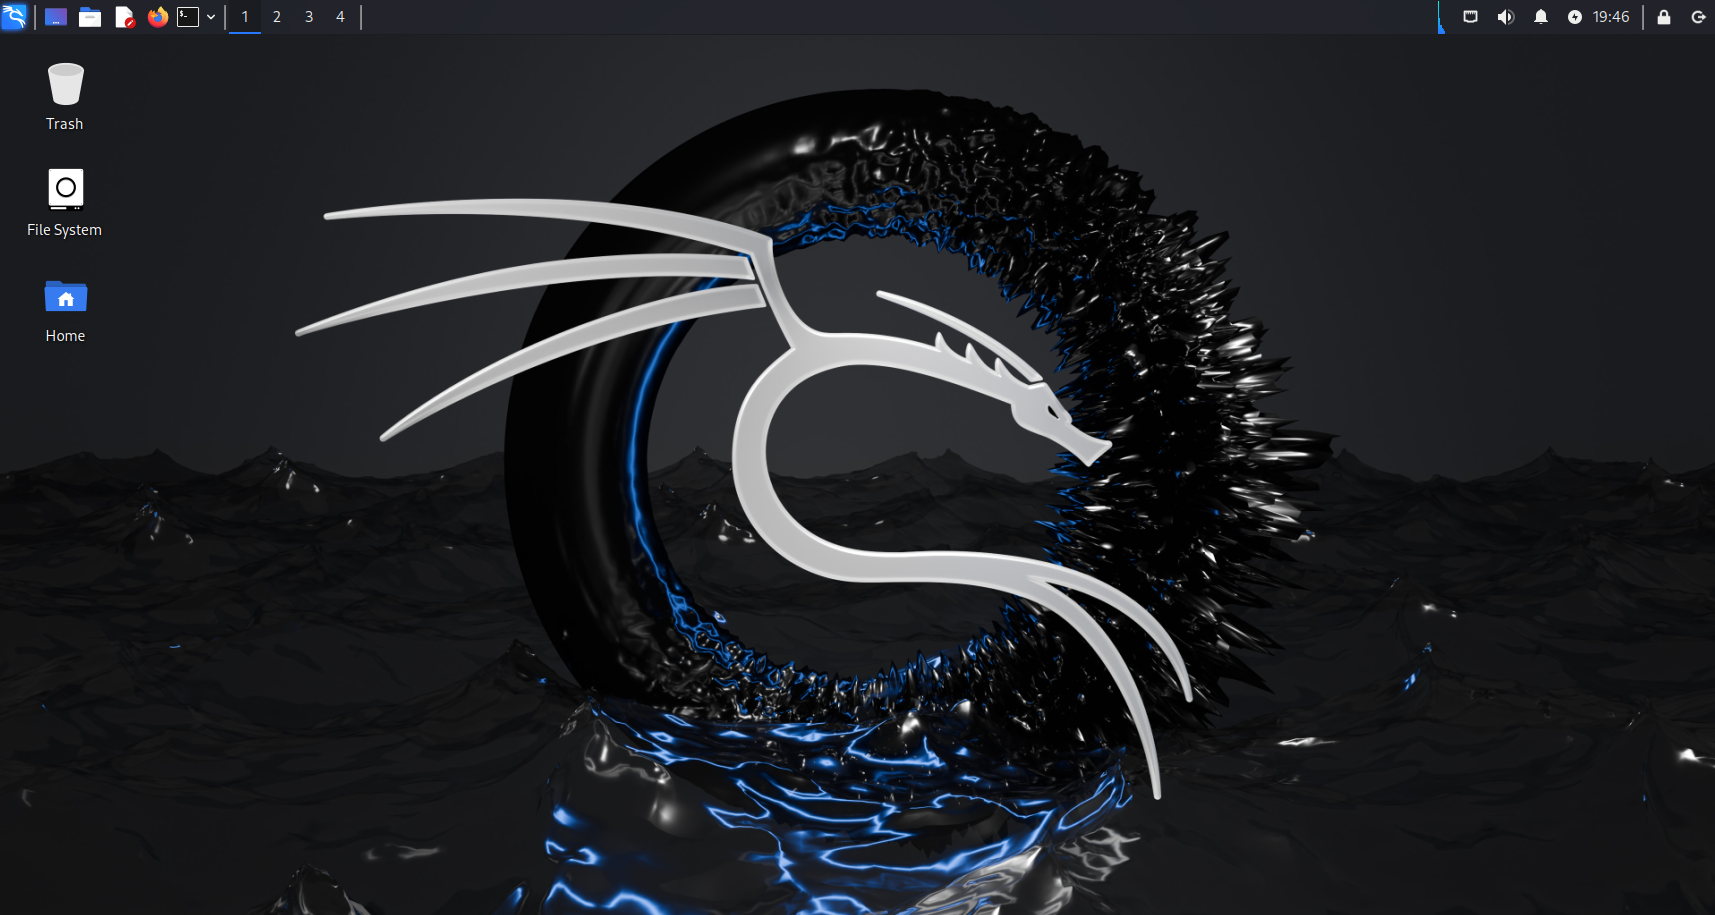
Network Setup
To minimize security risks, the network must be segmented and isolated from the exterior, so the involved machines in this educational attack/defense scenario can communicate between them and not outside of the environment.
-
Go to any VM Settings, then on Network Adapter find the option
LAN Segments...This is where the
TestLAN segment should be added.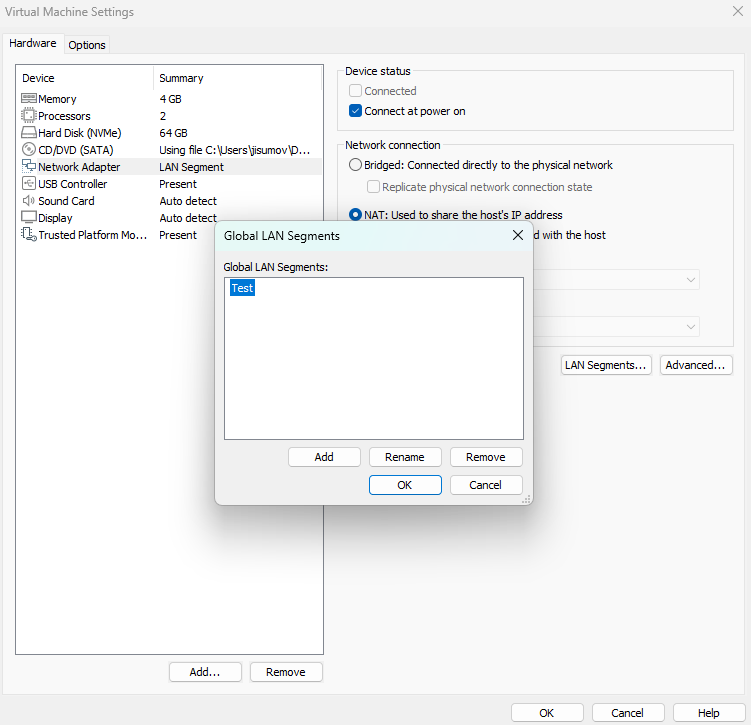
The new
TestLAN segment should be selected, instead of any other network connection.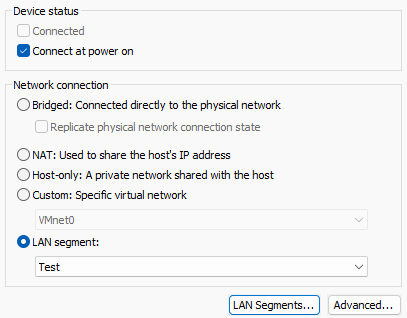
-
The following are the steps for the Windows Host network setup:
2.1. Right click on the Internet icon and select
Network and Internet settings.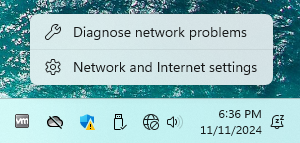
2.2. Then, click on
Advanced network settings.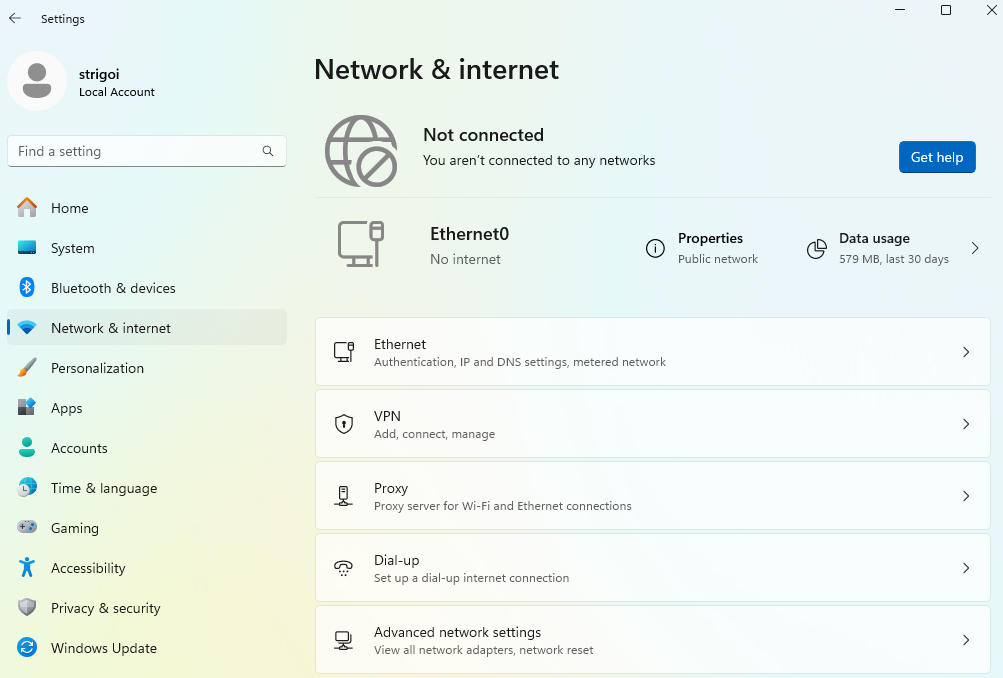
2.3. Now, click on the accordion called
Ethernet0and then on the edit button ofMore adapter options.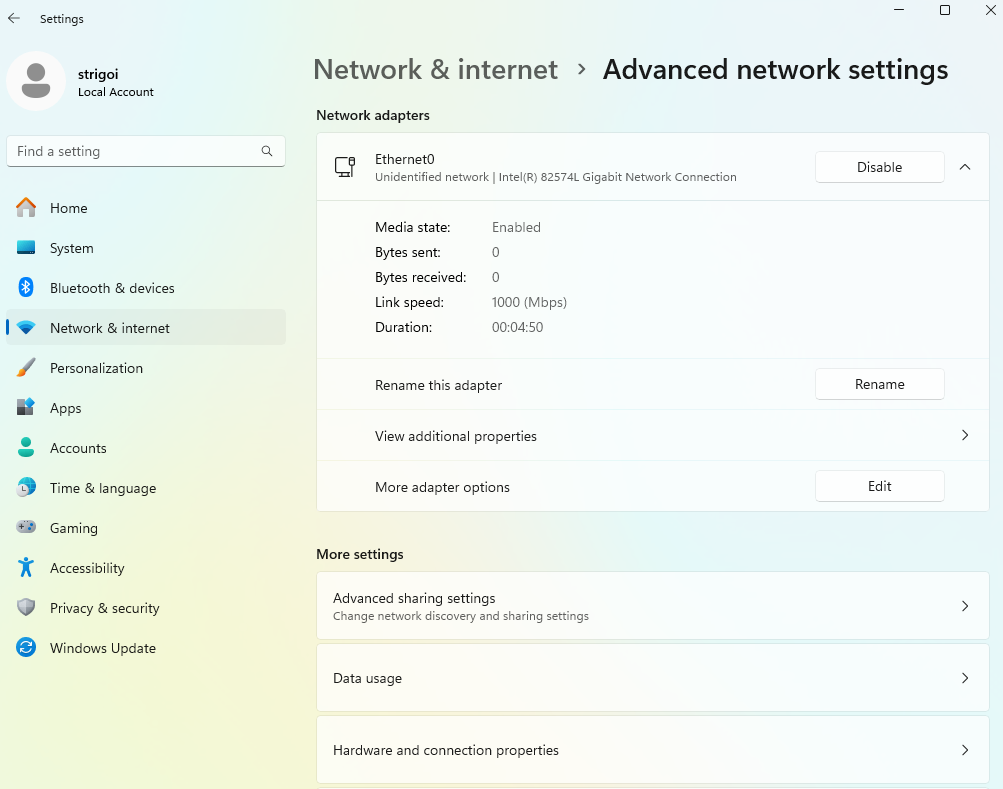
2.4. Find
Internet Protocol Version 4 (TCP/IPv4)and double click it.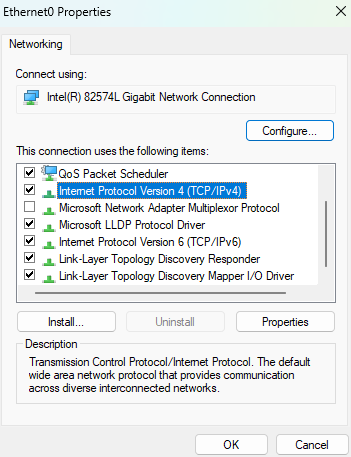
2.5. Below the section
Use the following IP address, establish an IPv4 address.In this case, the IP address
10.0.0.1mimics the way workloads might be setup in any cloud provider, as it is a class A within the private IP range.The number of hosts is limited by the subnet mask, that is
255.255.255.252. Consequently, a total of 2 hosts are allowed for this lab.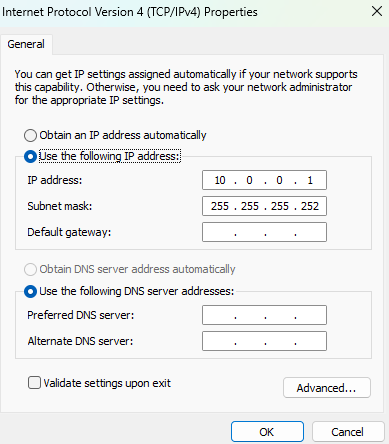
2.6. Save the changes and open a CMD, where the command
ipconfigis executed to display the network layout. It should contain the recently saved configuration.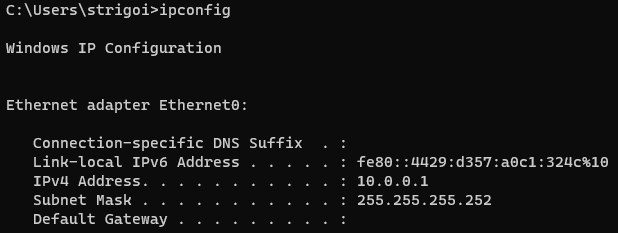
-
This is the network guide for the Kali Linux Host:
3.1. Right click on the Internet icon and select
Edit Connections...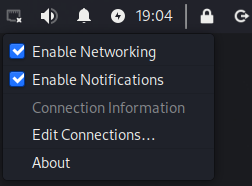
3.2. Click on
Wired connection 1and then on the configuration wheel.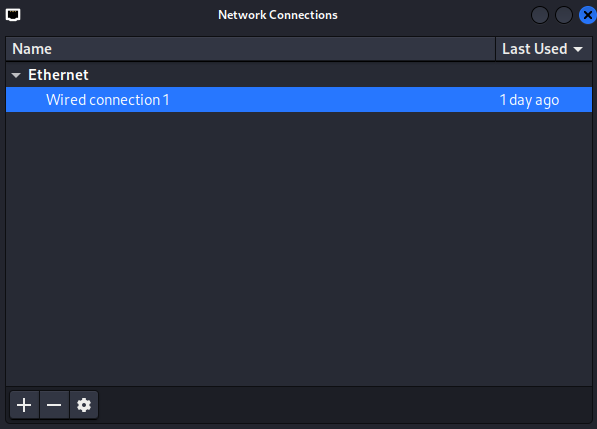
3.3. Go to the
IPv4 Settingstab, choose theManualmethod and add the IPv4 address.In this case, the IP address
10.0.0.2is the next available address for being used by a host, due to the 10.0.0.0 is considered as the network address and 10.0.0.3 is the broadcast address, used for communication with all devices in the subnet.The Netmask can be represented as
30, which means 30 bits are allocated for the network portion, leaving 2 bits for host addresses. This results in a total of 4 IP addresses: 1 network address, 2 usable host addresses, and 1 broadcast address.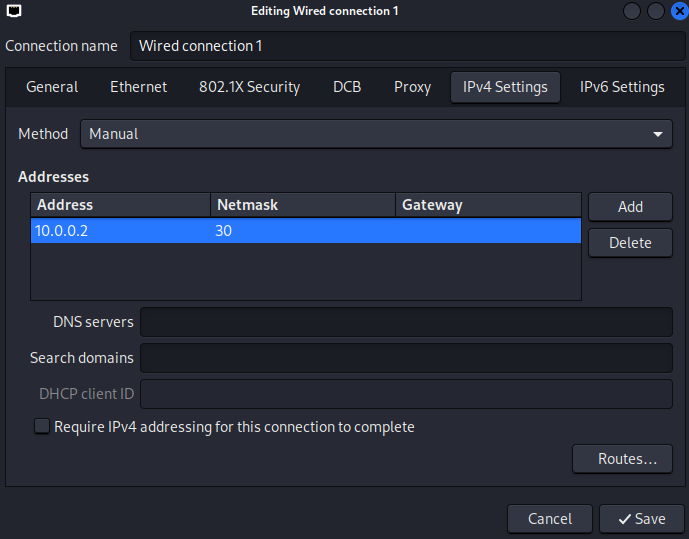
3.4. Open the terminal with the shortcut
Ctrl + Alt + Tand executeifconfig, which displays the newly saved network setup.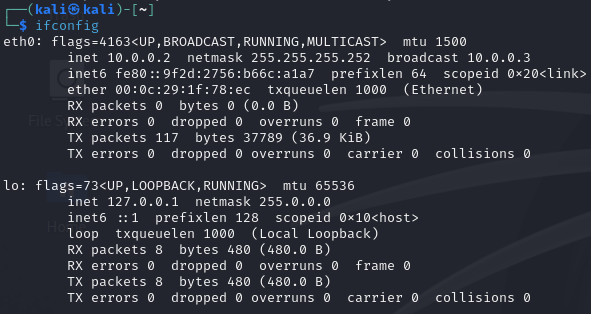
3.5. Trying to
pingthe host10.0.0.1would fail, because of the Firewall configuration in the Windows machine.
-
As mentioned in step 3.5, the Kali Linux machine cannot ping the Windows host, due to the Firewall blocks the ICMP requests by default.
However, the communication can be checked through the opposite direction, from the Windows host to the Kali Linux machine, by executing
ping 10.0.0.2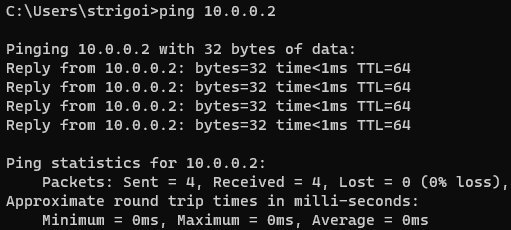
-
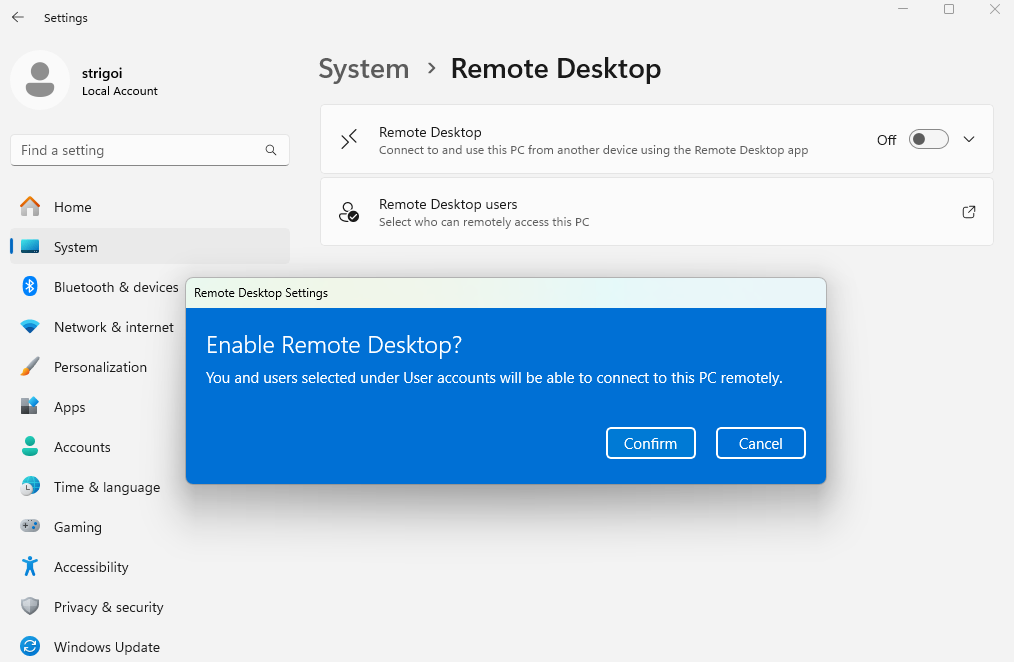
Also, the Remote Desktop Protocol must be enabled in the Windows host, as there must be reverse shell capabilities for the Kali Linux machine.
Go to the Windows settings, then on
Systemand findRemote Desktop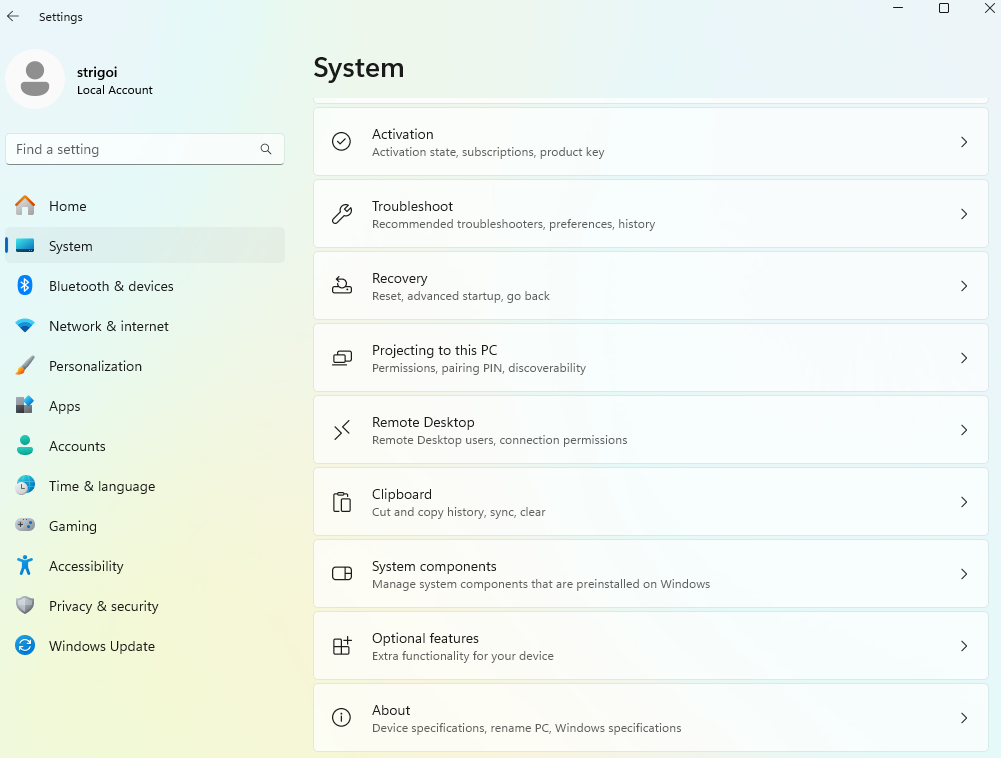
Turn on the switch and confirm the Remote Desktop enabling.